

SO, I made a bunny hat. I find it kind of awesome and apparently so did a bunch of other people, so I decided to make a tutorial for it. Now, mind you I am not at all gifted at sewing or pattern making. I cut a bunch of paper to figure out the best way to make this... I'm also sure there are better tutorials out there, but I think I did okay.
What you will need:
1/2 yard of fabric for lining, I used fleece for mine.
1/2 yard for the outside, I used some super soft fluffy fabric..
Stuffing for pillows/stuffed animals~ I got mine at my local fabric store.
Sturdy String
2 pom poms
Thread
Scissors
Marker
Optional:
Anything you want to decorate it with, I chose some flower patches, but you can use bows or something.


Here's a really icky looking pattern that I used. I repeat, I am not a skilled pattern maker, actually it's my first one and it might be off, because my middle long strip was kind of long...


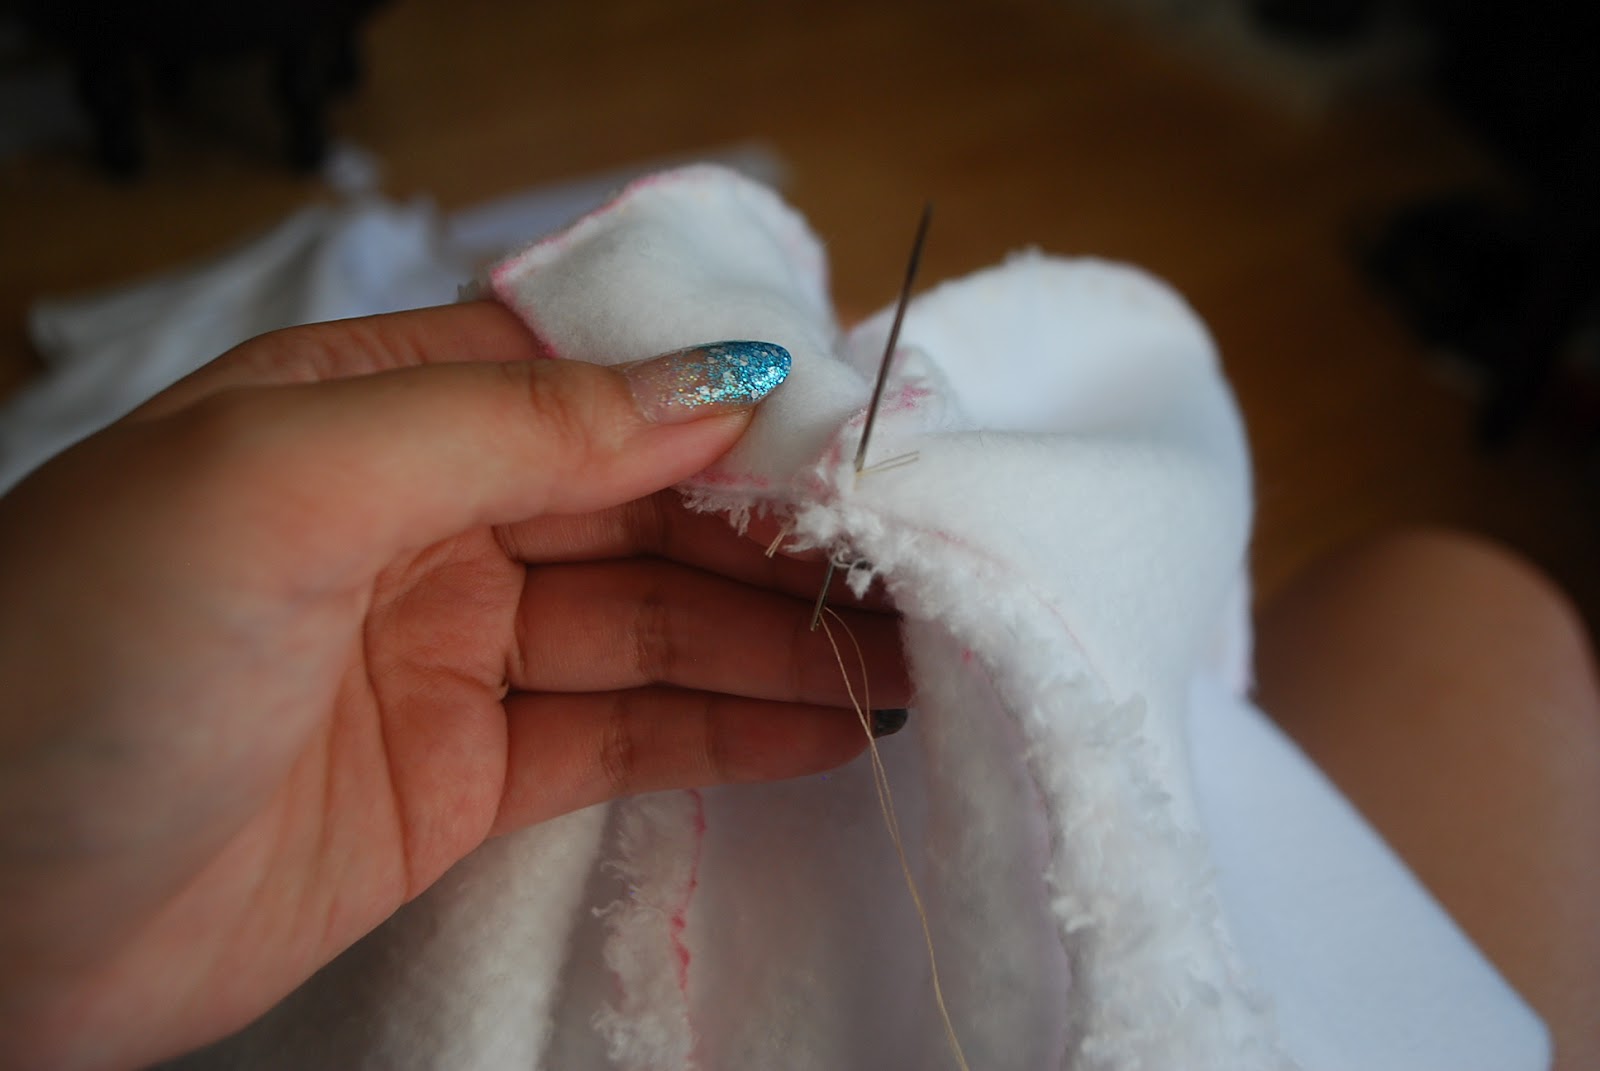
Then sew the two pieces together, leaving the bottom of the ear open. I used a super simple in and out stitch, which is all I know....


Now onto the hat itself. You will want to cut out 2 of the large cap looking pieces, one like above in the pattern and another reversed/flipped over.
And you're going to sew the bunny ear to the top arch, towards the front of the cap shape, the shorter end of the ear towards the front of the cap.
kind of like this vv. Please sew them to the inside/ugly part of the fabric.

And repeat that to the revered/mirrored cap side.
Onto finishing the outer part of the hat and where it starts taking shape!


Kind of like this:


After that's done, you will want to inverse the outer cap and inner cap so all the ugly bits are facing out and line them correctly so that it's perfectly lined up, front with front~ back with back. You will want to follow around the circumference of the cap sewing the 2 pieces together. Leave an opening somewhere in the back of the cap


Then enjoy your new bunny hat!

Waa! So cute >.<
ReplyDeleteThanks for sharing that Bunny Hat's Tutorial ;)
Xoxo,
Michelle
No problem! I love wearing it and it was so cheap to make~
ReplyDeleteAwh thank you for sharing the tutorial, love!!
ReplyDeleteNo problemo<3<3
Deletehttp://www.yesstyle.com/en/catworld-stockings-cocoa-one-size/info.html/pid.1025626715
ReplyDeleteAre these the same over-the-knee socks?