Showing posts with label tutorial. Show all posts

Sunday, October 21, 2018

Cute Brown Cat +Sexy Black Cat Filter Makeup~


A few years back, right before I had my new set up, I did a cute and easy cat makeup for a quick last minute Halloween look which I absolutely adored!


I really wanted to repeat it again this year and also share a mini tutorial on how I put together the look.

Products needed for eyes:

Primer (for longevity of the look)
Eyeshadow in colours; cream, warm brown, dark brown, black (preferably matte)
Eyeliner of choice (I use liquid eyeliner in brown)

Products for cat filters:

Brown Cat; taupe eyeliner + dark brown eyeliner

Black Cat; black eyeliner + black liquid eyeliner
(optional dark lipstick or lip gloss)


To create a cat filter effect, I found it helps to have a bit of dimension to the doodles. I created dimension by sketching a heart nose with a taupe eyeliner. If any mistakes are made it can be easily cleaned with a bit of concealer. Tapping on the line with a ring finger to fade it out will also make it look like more of a pixels fading out around the main line.


In the middle of the taupe lines, I made a cleaner line using the dark brown eyeliner.


I repeated the same easy steps with the whiskers~ 


Then, done. I drew on ears, but the effect's there! For in person wear, wearing little cat ears would be just perfect!


For the Black Cat look, I applied it on top of the Brown Cat eyemake. The only difference is I darkened and smoked out the winged liner with a matte black eyeshadow.


For the Black Cat filter I repeated similar steps as with the Brown Cat look. I created a light rough sketch of a heart nose with a black eyeliner. Tapping the edges with a light touch of the ring finger, will create a base for the look of blurring out pixels.


Darken the center of the lines with a liquid or darker black eyeliner. I decided to go for another doodled cat filter like nose which came out quite adorable!! I repeated the same steps with whiskers on the cheeks.


I ended up really disliking the gradient look (I may have been copying a cat filter I liked haha) and decided to apply my favourite deep red lip gloss instead, which was a much better decision. I like the look of plump vampy lips a bit more.


Then, DONE! Also, added extra doodle effects because, why not~

Meow! I really loved how these came out, simple but extremely cute! Ah, I'm already getting ideas for next year's look!! 

<3CarisseIris

Sunday, September 23, 2018

Casual + Cute Glasses Makeup


I recently had to update my glasses prescription which meant I needed to get some new glasses.
So, I bought two new pairs from Tijn Eyewear (not sponsored), one with my new prescription and another pair that I use for school that has blue light protection since I use my tablet for note taking and homework. I recently have gotten a bit paranoid about blue light eye damage so I've been eyeing protective eye wear for awhile.

With wearing glasses everyday, I've had to modify my makeup to avoid some new annoying realities that come with constant eye wear.


The thing I like to avoid most is foundation or concealer getting smudged on the bottom edge of my glasses! It bothers my peripheral vision and it makes me feel sloppy.

So, to get around that I've completely nixed foundation and liquid concealer from my daily routine. Also, since I tend to start my day straight from the gym, I wear less makeup than I used too~ just enough to look rested and polished.


I always start the day off with clean and moisturized skin, since I forgo foundation, I want any visible skin to look as fresh as it can~


My next step is applying a pore minimizing primer that has UV protection. I like Hera's lavender primer as my skin has been getting quite tan and my concealers are now a bit pale for me, the lightly tinted primer helps to blend the colour of my makeup to my skin without extra coverage.


To help my under eyes look less sallow, I use Tatcha's Pearl Tinted Eye Illuminating Treatment, in Moonlight, to add some brightness back into my skin, not only does it add a bit of colour but it also helps to reduce discolouration and fine lines with prolonged use.


A small secret product I've constantly had in my life for the past 10 years is La Bella Donna's Loose Mineral Foundation,  in Nicoletta. La Bella Donna's mineral foundation was created and used for use in post facial surgery offices, safe to use on healing and sensitive skin. It also was created to cover healing and textured skin too~ I've usually kept a stash of this foundation for emergency days when I had horrible break outs. Recently though, I've been using it to spot conceal areas and to keep my skin looking makeup free but covering up areas of hyperpigmentation. 

Also, since it's a powder, any pigment that might be under my glasses don't get picked up by my frames, keeping my glasses looking clear and clean!


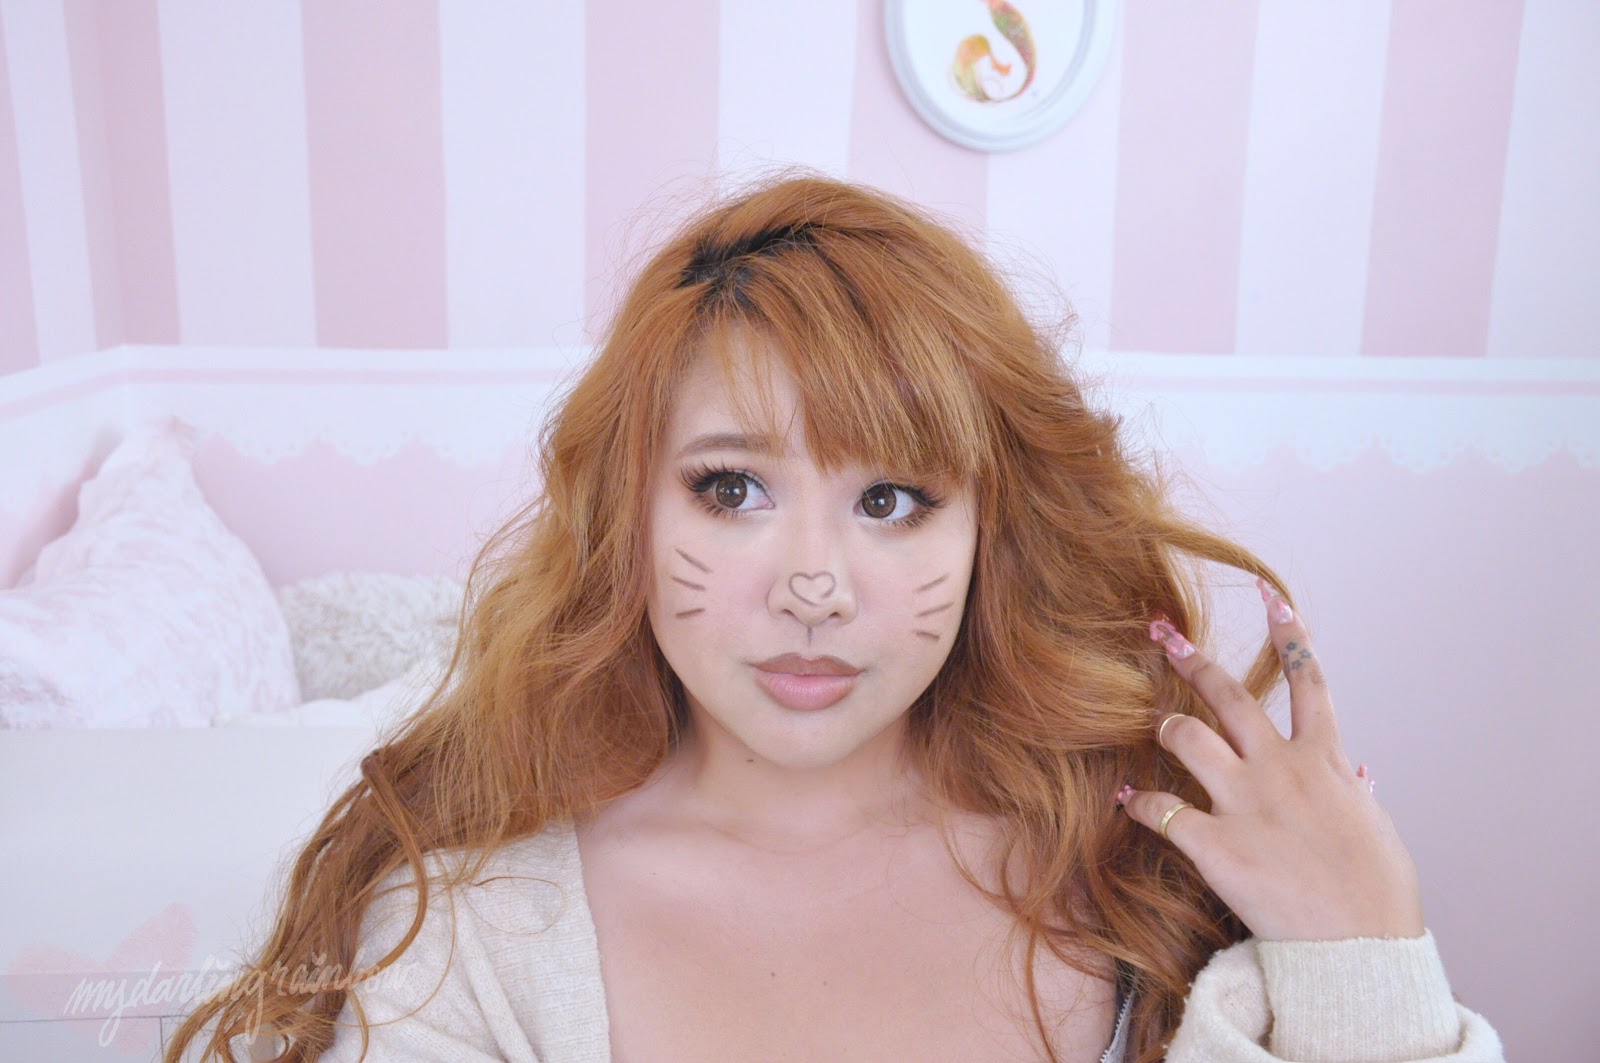
^With applied concealer and brows~


I also like my brows to be low maintenance, and smudge free. I've recently been using PMELtete's Tint Dual Eyebrow. The formula of the pen is similar to a stain and lasts all day! (I've accidentally got it on my hands before and it is a pain to try washing off completely). The pen has a brow gel on it's opposite end and it's pretty good... Not my favourite, but it does it's job. It's just conveniently there, and I can't complain.


To finish off my makeup, I draw a very thin winged eyeliner with my favourite Jill Stuart liquid eyeliner in brown, and tap on some of my go to YSL Lip Stain, in 220 Nude Steam, on my cheeks and on my lips (it's the exact colour my cheeks flush after the gym so it looks amazingly natural on me!). Then finish off with a spritz of Tatcha's Luminous Dewy Skin mist, which helps to meld everything seamlessly into my skin and give me a believably real dewy finish that makes any makeup look like it is my real complexion.

If I want a bit more oomph, I tap a bit of YSL's Touche Eclat Glow Shot onto any high points on my face I want to emphasize.


A quick and simple look for every day~ and it only takes me a few minutes to do so I have more time for studying and getting tasks done!


With my prescription lenses, there's a polished and casual feel!


If I want to dress up the look more, I can easily add some light but eye catching additions.


Since I will be adding eyeshadow, I want to fully conceal my under eye bags. I keep going back to Hera's liquid concealer since it's the perfect in-between shade, close to my skin tone and slightly lighter to brighten up my under eyes.


For the sake of staying compact and simple, I am using my Jill Stuart Pajama Party palette. Also, because I always use the pink shade from this compact as it's the only pink that doesn't give me an allergic reaction. (I have a precious review on this palette here).


In addition, I absolutely adore Etude House's Wonder Fun Park pigment, and use it to make the look more sparkly.


I use the Jill Stuart palette on my crease, lash line and under eye. Then, I tap the Etude House pigment onto the center of my lid, and applied on the inner corners under my eye.

Admittedly, the look isn't for everyone, but I really love the simple and slightly distressed feeling this style of makeup gives. The look falls perfectly into step with the makeup the models I admire seem to wear on the daily. I may still be heavily influenced by Larme styles!


To finish off the eye looks, I use brown false bottom and top lashes.

The Romantic Minnie and Daisy series lashes from Shobi, that I love, now come in a brown shade! So, I have a ton in my collection now!

Brown false lashes, give the volume of false lashes, but give a softer look to the face. I absolutely adore how they give a glam yet youthful appearance, nothing too intense but still alluring!


I am also trying  new contour, Mochi Pact by 16 Brand~ It's something quite interesting, it's something in between a cream and a powder, the pouf it comes with has a soft mochi texture that feels great on the skin and leaves a thin film of the colour where applied.

I've been playing around with different types of contour since I've been leaving my skin looking bare~ so far this contour looks the best since it's so sheer and buildable. Plus, it doesn't leave any trace of product, only leaving behind a slight pigmentation so it lets my skin show though, keeping it looking natural.


I apply a bit of my YSL Tint-in-Balm to my lips, and the look is finished! 

A Soft cute natural look! 


Topped off with my blue light protection lenses, and the look is nicely complimented~ The touch of shimmer peeks through the lenses and my eyes can stand out past the unique frames.

I know the natural looks are very different from my usual makeup, but it's been fun to play around with what I can do with bare looking skin. Also, figuring out how to happily wear glasses after decades of resenting them has been it's own mini adventure!

Hope this week has been treating you kindly! It's been stressful for me, but I'm trying to take my stresses in stride and to learn from my mistakes and improve myself~ turning my negatives into some type of positive! Phew~ but, I'm very satisfied that I've been managing to keep up with my blogging!

<3CarisseIris !!


Sunday, September 16, 2018

Mini Doughnut Hair~ Twin Buns Tutorial~


So, maybe a year ago, my friend was sleeping over and we got really into the anime Please tell me Galko-chan, and as a joke midway though watching the series, I quickly figured out how to recreate Galko's hair and surprised my friend with a small in person demonstration of how easy her hairstyle is to wear.

Well, I ended up falling in love with how cute and extremely easy the mini doughnnut hair is to do, after that, and have been wearing it quite often this past year!

The way to wear mini donuts, is so quick and simple that I felt a small pictorial would be the most convenient way to explain how to recreate the look.


Items needed:
2 socks (I used some thin ankle socks)
Comb, to part hair cleanly

Optional:
Alligator clips, for hair separation
Curler


The first step is to make a sock doughnut~ easily done by cutting off the toe of the sock and rolling it into a doughnut.

The smaller the sock, the more petite the buns are. I personally like thin fabric ankle socks because the buns come out cute and compact. Larger, thicker socks will make buns that look large and plump, like a big fluffy yeast doughnut.


So, to start, separate the top 1/3 of hair, roughly an inch above the ear line.
To keep the hair easily organized, I like to use alligator clips but tying the bottom section of hair into an elastic is just as convenient too. 

Next, split the top section of hair down the middle and arrange the face framing pieces of hair as desired.

Taking one side of the parted area, pull hair though one sock roll.

Slowly and neatly working from the end of the hair down, tuck the hair over the sock roll and start rolling the doughnut down the hair. Making sure to keep the hair evenly spaced and keeping the rolling process neat will make the bun look cleaner AND will keep extra frustration at bay when it comes time to fixing up the doughnuts after.

After completing the roll, pull and fluff out any hairs where necessary to make the doughnut look nice and round.

Repeat the process on the second section of hair.

Then finally, style the rest of the hair as desired. I personally love how the doughnuts look perched on loose waves.

Some practice might be necessary (especially with long hair), but after getting the hang of it, the hair style is so quick to master!

I love wearing mini doughnut hair when I'm in a rush for classes but still want to look like I put in effort to look good, or days I just want to look cute and playful, but the most common scenario for me is when I have slightly dirty hair that needs to sorted out.

For fans of Galko-chan, or those who might get frustrated with trying to make even doughnuts, the style even  looks cute with one side doughnut-ed and the other section put into a ponytail.


So, from your local, off an on again gaijin-gyaru, I hope that this pictorial was helpful and that rocking mini doughnut hair might become something fun and new for my readers to try out, maybe come to love as I have!

Maybe if I ever have more time to watch cartoons, I can find more 2d hair inspiration to showcase here too? I'll have to wait till winter break for that though;;

<3CarisseIris

Saturday, August 18, 2018

Reset & Refresh~ Prepping for a new semester!

So, I’m no expert in school prepping or being well organized. Probably, far from it. Three semesters in, I do feel slightly better prepared in what works for me! So, I would like to share how I jump into a new semester, resetting myself so that I come at any new chapter in my life feeling like I am prepared for a good time and in a way that reduces my stress and distractions.

I like to set aside some time if possible, minimum 2 days, to knock off any tasks that I’ve put aside (probably due to procrastination) and to prepare everything for what lies ahead.

I’ll make a list of what then needs to be done: 

The first tasks I like to tackle are the most daunting ones on my list. For me, those were cleaning out my old room, getting rid of the old furniture, and organizing my junk trunk.

Following those tasks, I then focus on cleaning everything! I love that step because cleaning helps calm me down and releases my stress. I deep clean everything and everything! Then I move on to doing all my laundry and making my drawers neat and tidy. (If I notice clothing or items I have had no use for or that don’t bring me any joy then I can also use this time to compile items for donation.)

I feel it’s especially important to have nice clean bedsheets, as it just feels so great waking up in a clean bed on the start of a new journey!

The feeling of having everything in its place and nothing to worry about really helps to feel like I have nothing holding me back, and clears my head so I can focus on what is most important, in my life that would be school.

On a more specific note, since I use my iPad for my schooling, I accumulate many files and use up a lot of my storage. I like to go though all my digital files and emails to clean out any clutter sitting in there! It may be a bit underrated but my future self always is thankful for this step when I don’t need to stress about running out of storage space!

Then, before classes start, the day before, I like to charge all my devices that require charging and replace any batteries that I fear might be running low on power. It helps to relinquish any anxiety that may sit within me that I could be left unprepared for any situation that might pop up in the following days.


During the time I reset, I like to build an outline for the routine I want to have, or strengthen/improve my current daily routine. So, during the few days prior I like to try waking up and sleeping at the times I want to have ingrained in my schedule. It takes a couple weeks for a habit to fully solidify so I like visualizing and concentrating as much as I can on the routine to try retaining as much of it as possible down the road. 

In regards to my routine, I’ve been consistently waking up at 5 am, making my bed and exercising well before 8 am, so I feel like I hav e a good head start on the routine I want to have come the start of my semester. So, It will be a test on my consistency and trusting the plans I laid out for myself.

Knowing that I have everything planned out, eases any apprehension or excuses that I may create for myself and refocuses my energy to be spent on what I deem as important!


I don’t think I get any extreme anxiety, but I know I am a ‘type A’ personality~ so if things don’t go perfectly I tend to get overly self deprecating. Planning things out and making sure that I create the best chance for myself to work to my full potential helps me wake up on the morning school starts feeling great and hopefulness that the coming months will work out just fine!

If anyone reading this post needs help with a jump start or might need any aid in releasing a bit of apprehension when starting something new, maybe this exercise might be just the thing to help guide the way! 
Please feel free to use the above outlines I created for your own use! 

School starts for me in a few days. I completed my reset a bit early, but I can still fine tune my routine!
I’m going to try up keeping my blogposts during this semester! So, there might be some more growing pains, but hopefully I can pursue this and grow a bit more as this year progresses!

<3CarisseIris